Step 3. Configure order import and export
An employee must be assigned to the shop with a Shop Owner Admin role to perform actions referred to in this article.
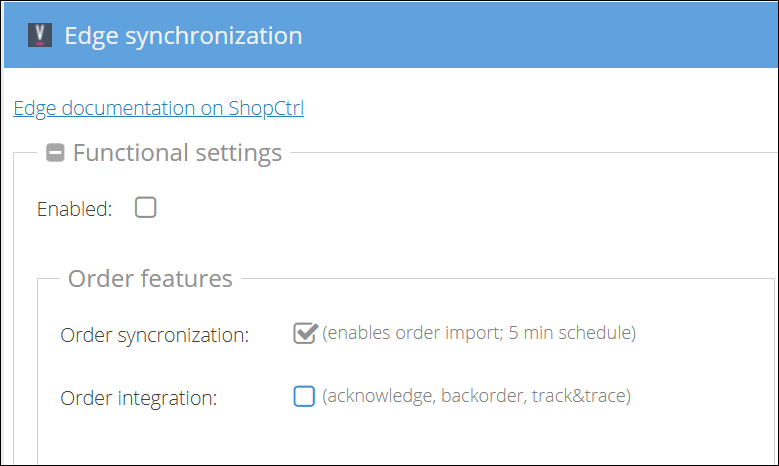
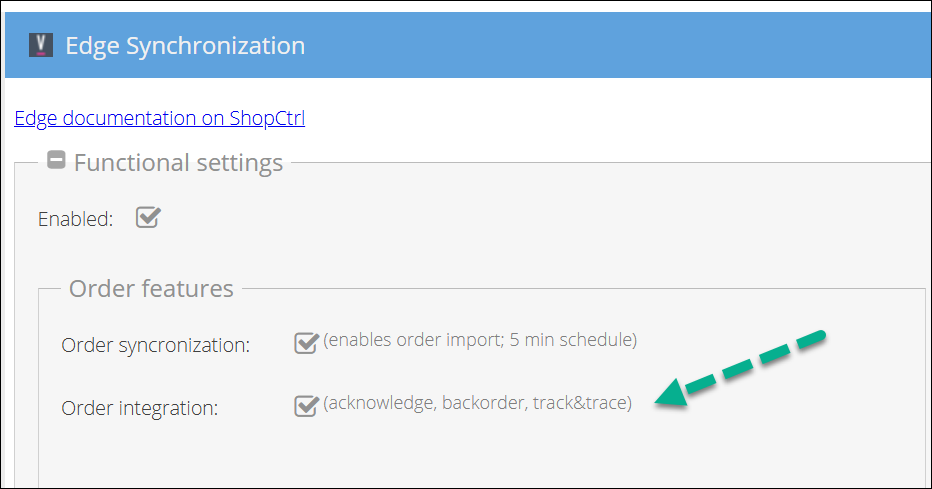
Two checkboxes in Functional Settings > Order features control orders:
- Order synchronization imports orders and cancellation requests from Virtual Stock.
- Order integration sends information back to Virtual Stock: acknowledgements, backorder dates and tracking.
Neither runs until the main Enabled switch is on. This lets you prepare everything first and then switch on one part at a time.
All settings on this page are in Configuration > Shops > your Virtual Stock shop > Edit > Shop Synchronization > Edge Synchronization.
1. Prepare the settings
Nothing is imported or sent while Enabled is off, so you can set everything up safely.
-
In Functional Settings, tick Order synchronization and leave Enabled off.
-
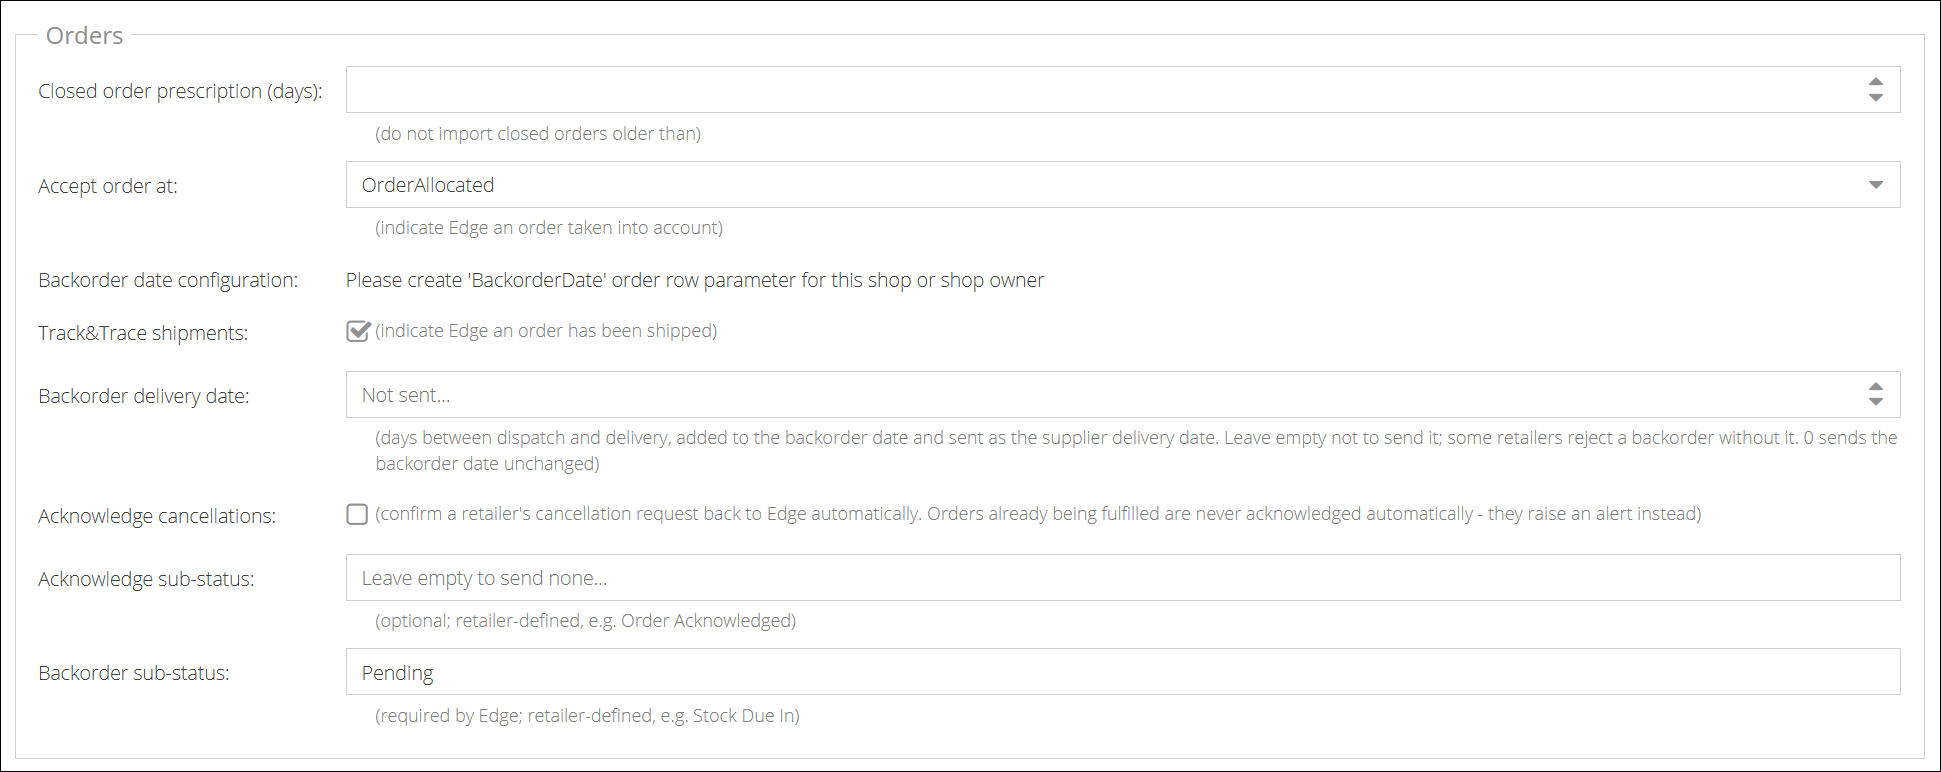
In the Orders section, set Closed order prescription (days). Open orders are always imported - this setting only controls closed ones:
- Empty - all closed orders are imported.
- 0 - no closed orders are imported.
- X - only closed orders placed in the last X days are imported (recommended for initial setup).
-
Check that Accept order at is set to OrderAllocated. Orders are acknowledged once they are fully allocated.
-
Create an order row parameter named exactly
BackorderDate(date type). Backorder date configuration confirms when it is found. -
Check the retailer-specific values. They are filled in by the profile you applied in Step 2:
Setting Special Standard Backorder delivery date (empty - not sent) Days between dispatch and delivery, or 0Acknowledge sub-status (empty - none sent) Order AcknowledgedBackorder sub-status PendingStock Due InThe sub-statuses are free text agreed with the retailer, so change them if yours uses different wording. Some retailers reject a backorder without a delivery date, so on a Standard account keep Backorder delivery date filled in.
-
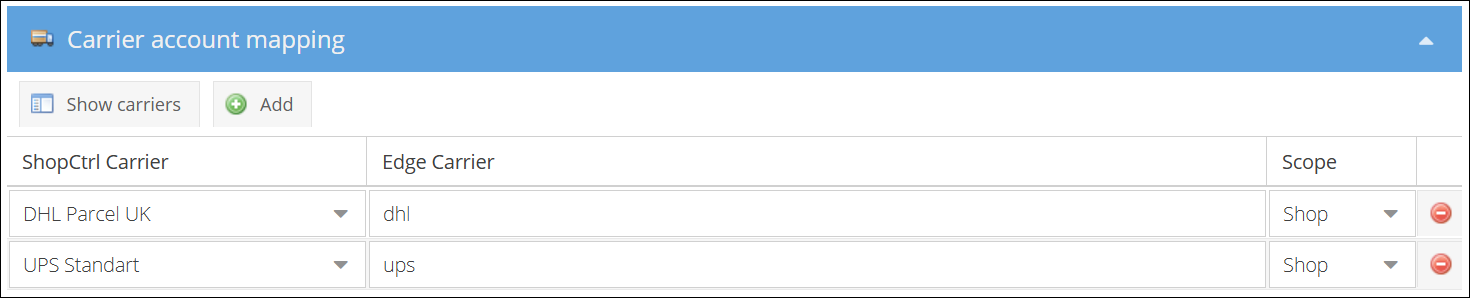
In Carrier Mapping, click Show carriers and map each ShopCtrl carrier to its Edge Carrier code. Use the codes only, not the IDs or names.
-
Track&Trace shipments is on by default. Keep it on if the carriers are mapped, otherwise untick it for now.
-
Decide on Acknowledge cancellations - see section 4.
-
Click Save or Save and Close.
2. Import orders
-
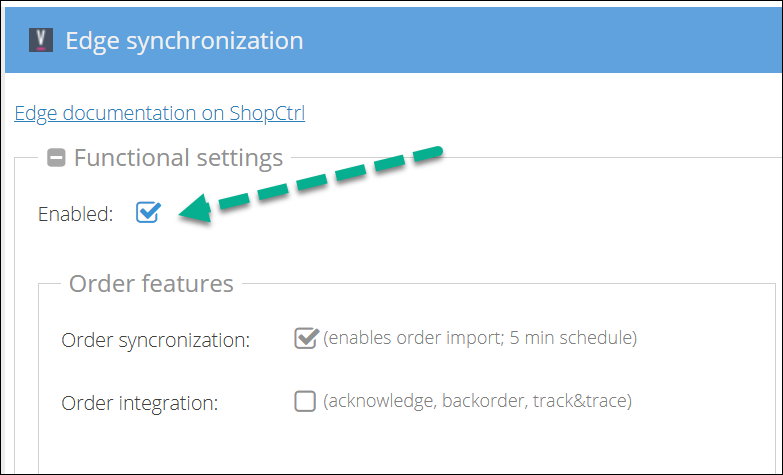
Tick Enabled. Leave Order integration off.
-
Click Save or Save and Close.
-
Check the imported orders in ShopCtrl. Only imports run at this point - nothing is sent to Virtual Stock yet.
3. Send order information to Virtualstock
When the imported orders look correct:
-
Tick Order integration.
-
Click Save or Save and Close.
From now on, the retailer sees what ShopCtrl sends:
- Acknowledgement - sent as soon as an order is fully allocated.
- Backorder date - if an order cannot be fully allocated, set
BackorderDateon the unavailable rows, in the UI or via the API. ShopCtrl sends the latest date to Virtual Stock. Without a date, ShopCtrl waits for full allocation. - Tracking - sent when a shipment is set to shipped, if Track&Trace shipments is on.
Check the first orders on the Virtual Stock portal to confirm they arrive as expected.
4. Acknowledge cancellations (optional)
Cancellation requests are always imported. How they are confirmed back to Virtual Stock is your choice:
- Off (default) - you confirm every cancellation by hand on the Virtual Stock portal.
- On - ShopCtrl confirms cancellations automatically, as long as the order is not being processed yet.
To turn it on, tick Acknowledge cancellations in the Orders section and save. Order integration must also be on.
Each cancelled row is confirmed once, so rows the retailer cancels later are picked up too.
Orders whose shipments are already being fulfilled are never confirmed automatically. Confirming them would tell the retailer the order was cancelled when the goods have already gone out, and it cannot be taken back. ShopCtrl raises a message instead, so you can handle the order manually.
To pause the whole integration - for example while you investigate a problem - untick Enabled and save. The other checkboxes keep their values, so ticking Enabled again restores the same setup.