Create Shop
An employee must be assigned to the shop with a Shop Owner Admin role to perform actions referred to in this article.
A Shop in ShopCtrl is a sales channel through which you generate orders. It could be a webshop, a marketplace, or an offline point of sale - 'In Store'. Each shop has its own currency, branding, company contact information, document and email templates, and synchronization with a webshop or a marketplace. Employees could be assigned to a shop with certain roles that will grant them a defined set of permissions limited to this shop only.
How to create a shop
You can create a new shop both from the Configuration > Shop Owners and Configuration > Shops tabs.

Some settings in the Topic menu will be available only after the shop is saved for the first time.
To create a shop:
-
Go to Configuration > Shops tab.
-
Click Add and select a Shop group to which you want to add a new shop.
-
Fill in the shop Name.
-
(Optional) Provide URL.
-
Select shop Country.
-
Change pre-selected Culture and Currency if needed.
-
Choose shop type: Webshop, Marketplace or In Store.
-
Upload a Logo by clicking the choose file button and selecting an image file. The logo could be used for branding document templates.
-
Upload an Icon image, for internal use only.
-
Provide the necessary company Site Information that could be used later to populate the merged document templates:
- Company name
- Site contact information
- Site address details
- Site bank and payment details
-
On the Financial > Payment types tab, select the main Payment types that will be used in your shop and default payment terms.
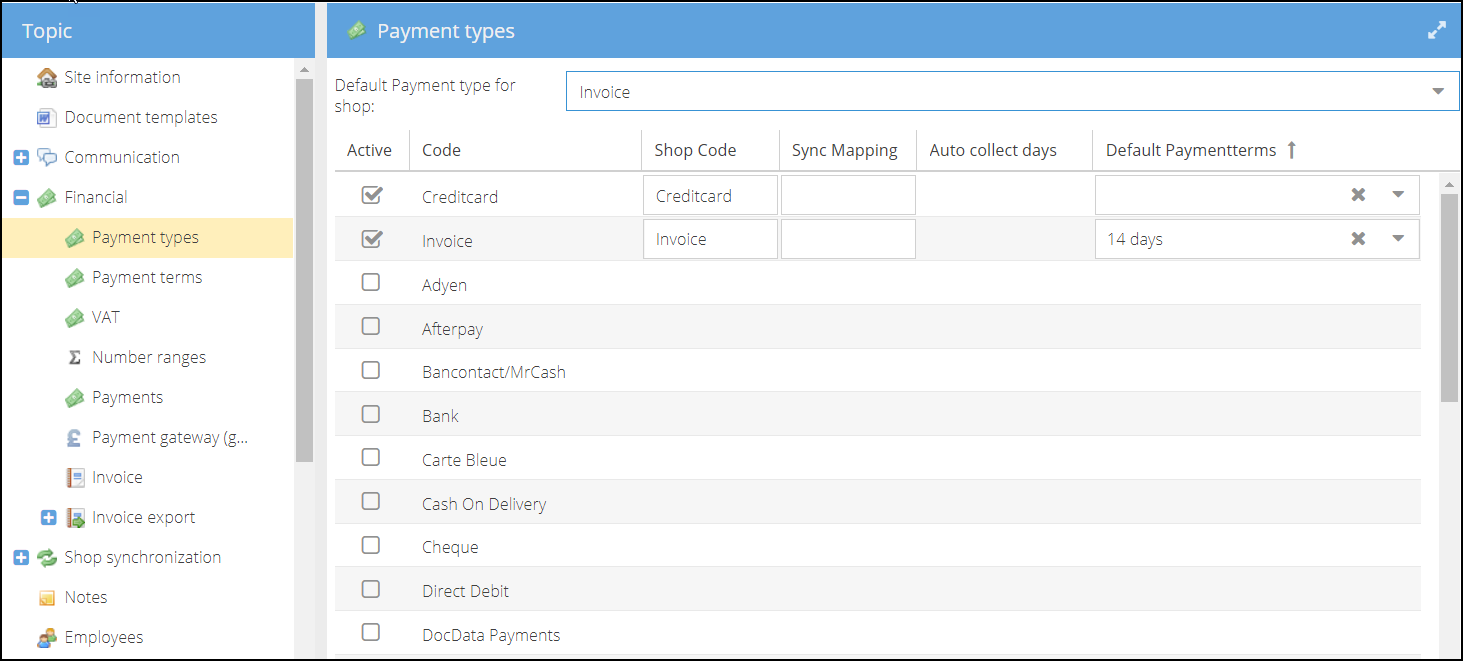
-
On the Financial > Payment terms tab, Select the Default Payment terms for the shop.

-
On the On the Financial > VAT tab, mark available all the VAT tariffs used in the shop.

-
Specify the Default VAT tariff used for most of the products.
-
Decide whether to display prices including or excluding VAT by marking the checkbox Display Inc VAT.
-
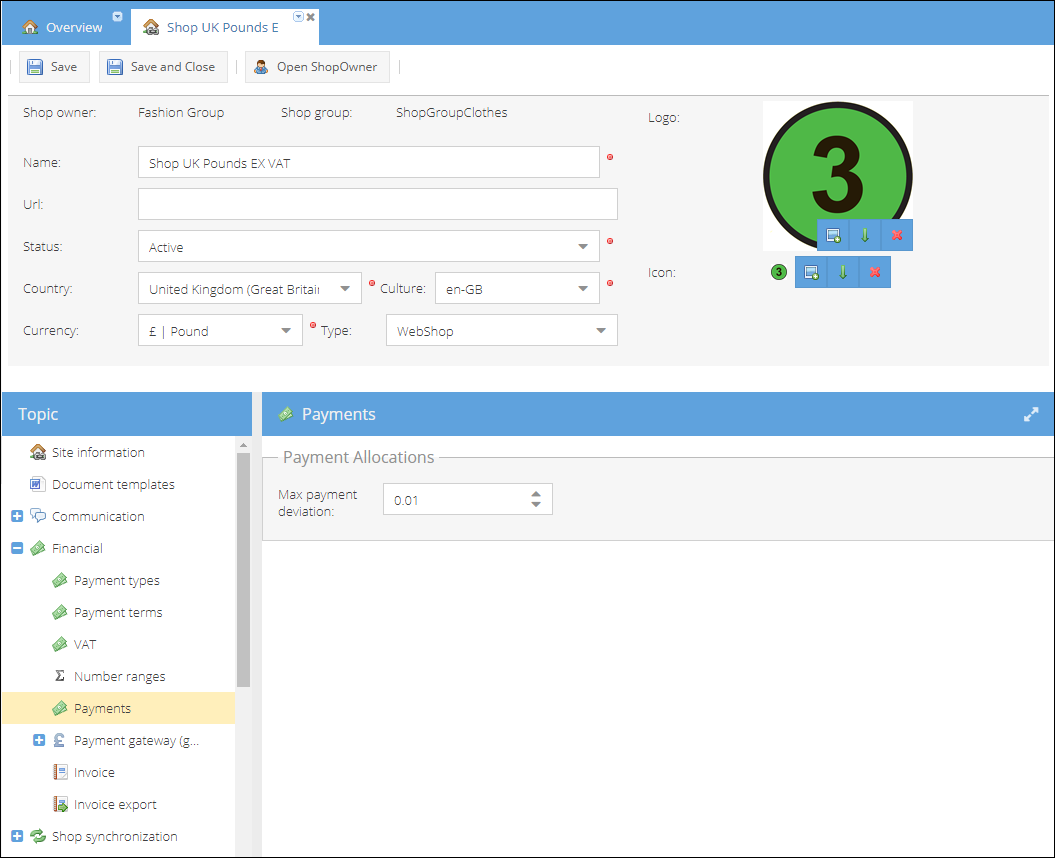
On the Financial > Payment tab you can specify Max payment deviation, which is the maximum allowed difference for under- and overpayments. If the outstanding amount or overpayment fits in the payment tolerance limit, the payment is allocated and the order/invoice will be considered as paid.
InfoThe Max payment deviation limit depends on the currency used in the shop. For example, for Euros the deviation is specified in decimals. While the deviation for Norwegian crones can be specified only in whole numbers.
-
On the Warehouses tab select Warehouses available for the shop.

-
Click Save and Close to create a shop.