Configure Returns
An employee must be assigned to the shop with a Shop Owner Admin role to perform actions referred to in this article.
To start using returns, you need to provide the return reasons and conditions used in your company. You could also change the return and return row statuses to custom ones or leave them default.
Return Conditions
The first part of configuring returns starts from defining the Return conditions within the Configuration > Returns > Return conditions.
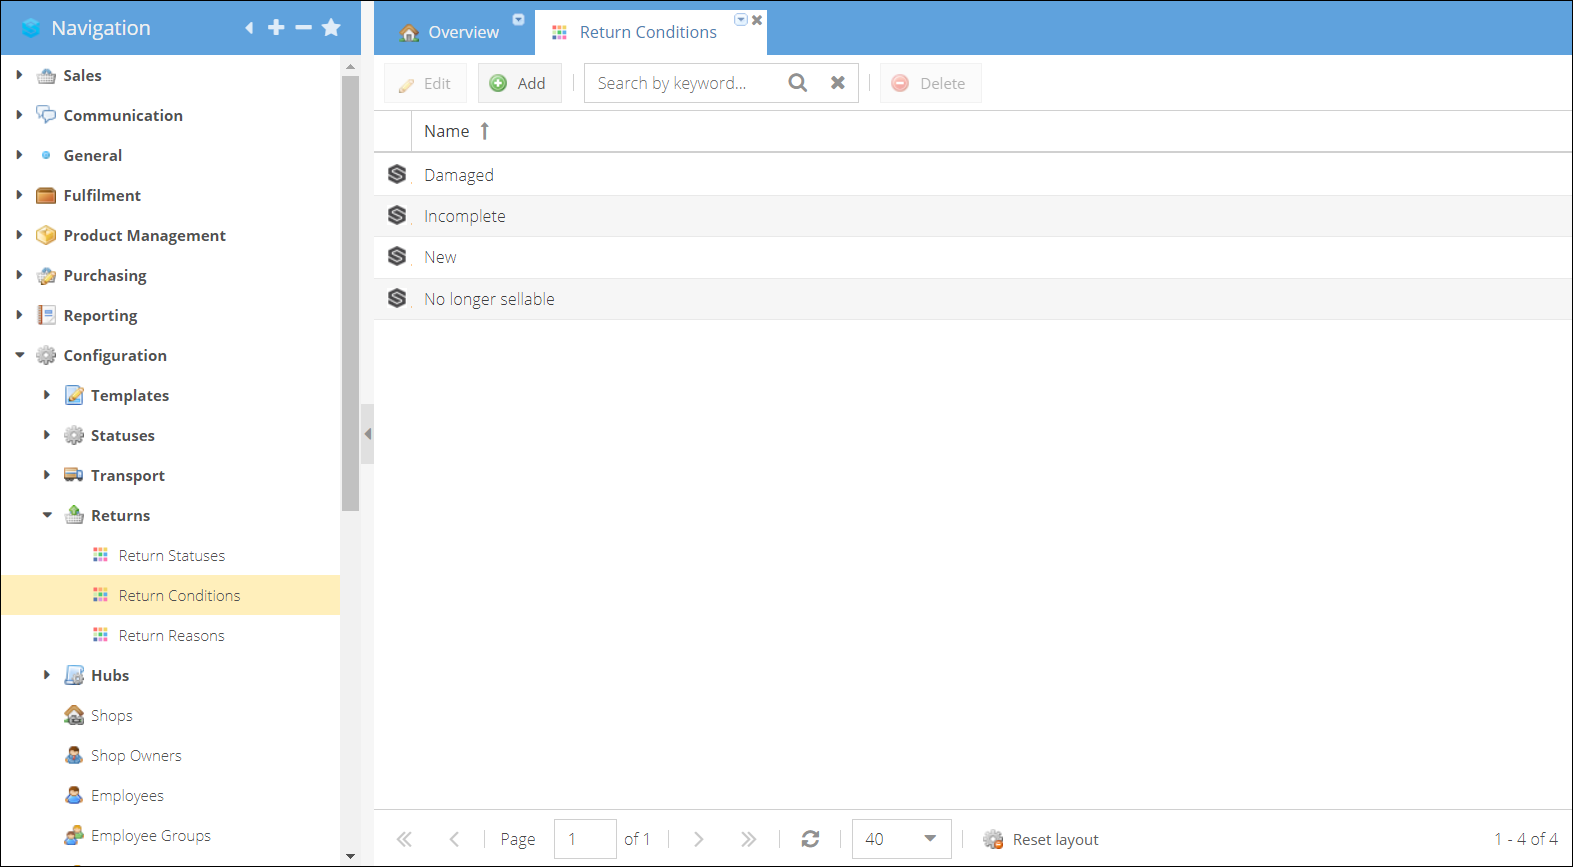
Specify the conditions or states in which the customers could return the product.
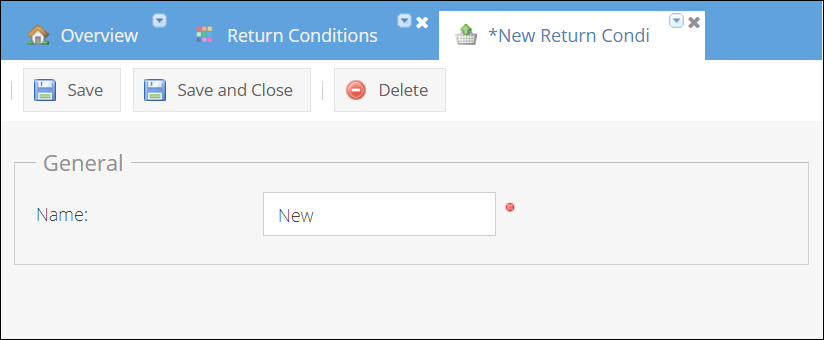
Click add and enter the condition name to create a new condition. Click save to add it to the list.
Return reasons
Same way as with defining conditions, please enter the reasons for returning products and refunds used in your company. Configuration > Returns > Return reasons
The return reasons could be used as reasons to credit the order or return reasons, or both.
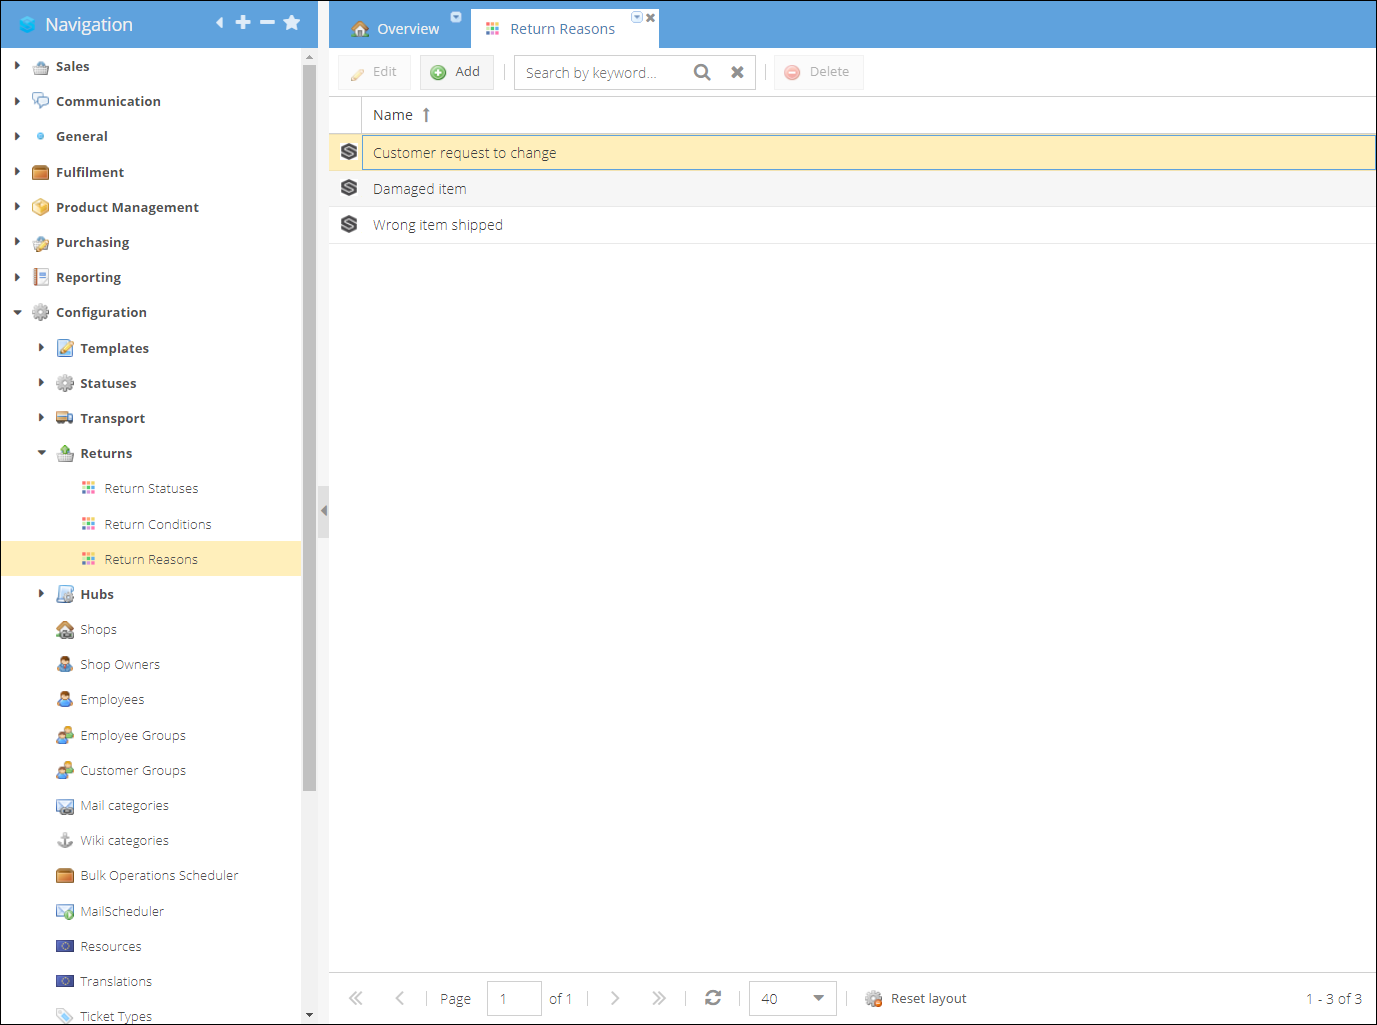
To create a new reason:
- Click Add.
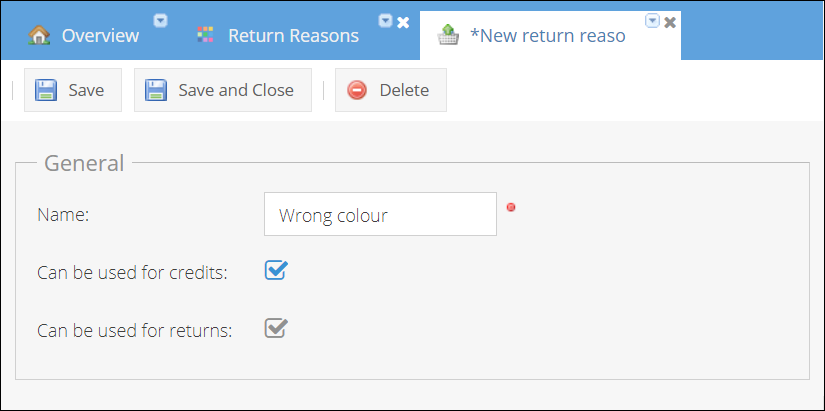
- Enter the reason Name
- Can be used for credits mark this checkbox if you would like this reason to be used as a reason to credit the order.
- Can be used for returns mark this checkbox if you would like this reason to be used as a reason to return the order.
- Click Save to add new reason to the list.
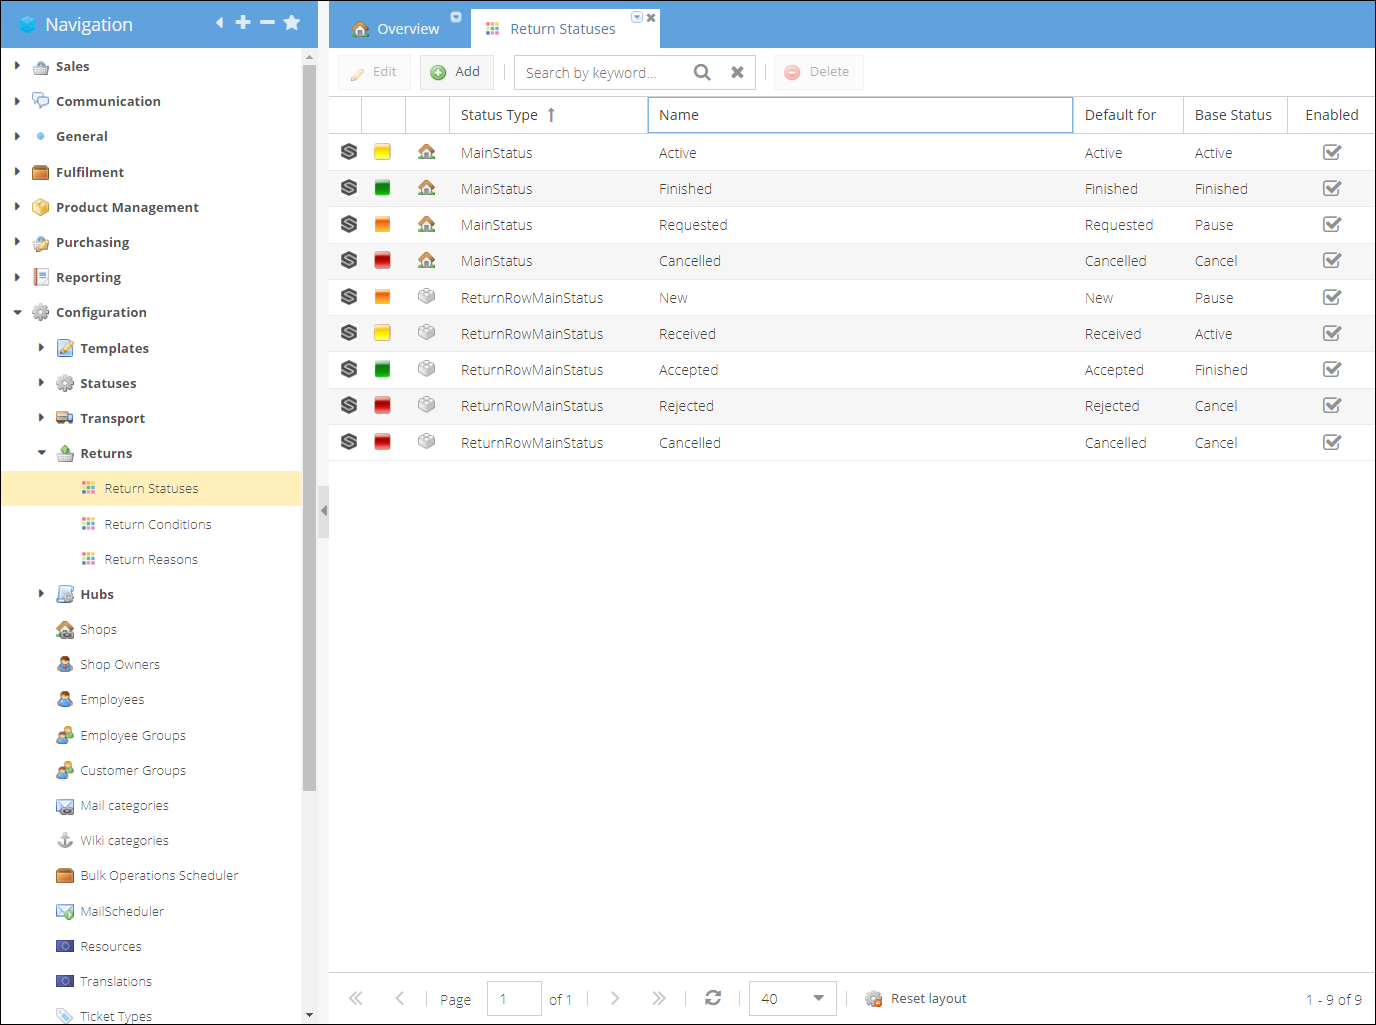
Return statuses
You can define the statuses that both return and return rows will have within Configuration > Returns > Return statuses. You can edit status definitions, add new statuses, and set custom icons for the statuses. Disable the status to remove it from the list of selectable statuses.
Return status automatic change rules could be set up through Triggers.
The default pre-configured statuses are as follows.
Main Status
| Main Status | Base Status | Definition | |
|---|---|---|---|
 | Active | Active | Active returns which need processing |
 | Requested | Pause | Used to indicate that return was requested by the customer |
 | Finished | Finished | The return was finilized |
 | Cancelled | Cancel | The return was cancelled |
Return row statuses
| Main Status | Base Status | Definition | |
|---|---|---|---|
| New | Pause | Customer indicated that this product is going to be returned |
| Received | Active | Product was received to the warehouse and needs evaluation |
| Accepted | Finished | The product was evaluated and accepted |
| Rejected | Cancel | The product was evaluated and rejected for refund |
| Cancelled | Cancel | The return of the product was cancelled |
Additional settings
Some additional settings for return management could be found on the shop details page. Configuration > Shops > Shop details page > Returns
These settings could be applied per shop, shop group, or system-wide. Change the area by clicking the arrow at the end of the row.
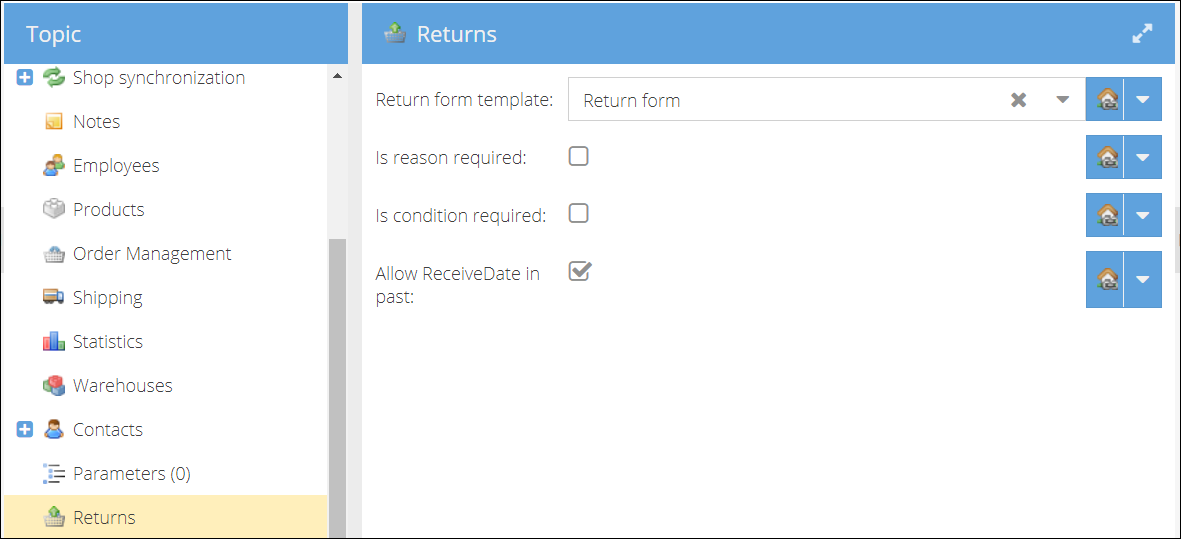
Return form template - currently not in use. You can select a template to generate a return form document while saving a return to send to a customer after a request manually. Is reason required, Is condition required Specify whether you would like the reason and condition to be required fields while registering returns. Allow receive date in past Decide whether you would like to register returns at a later date.
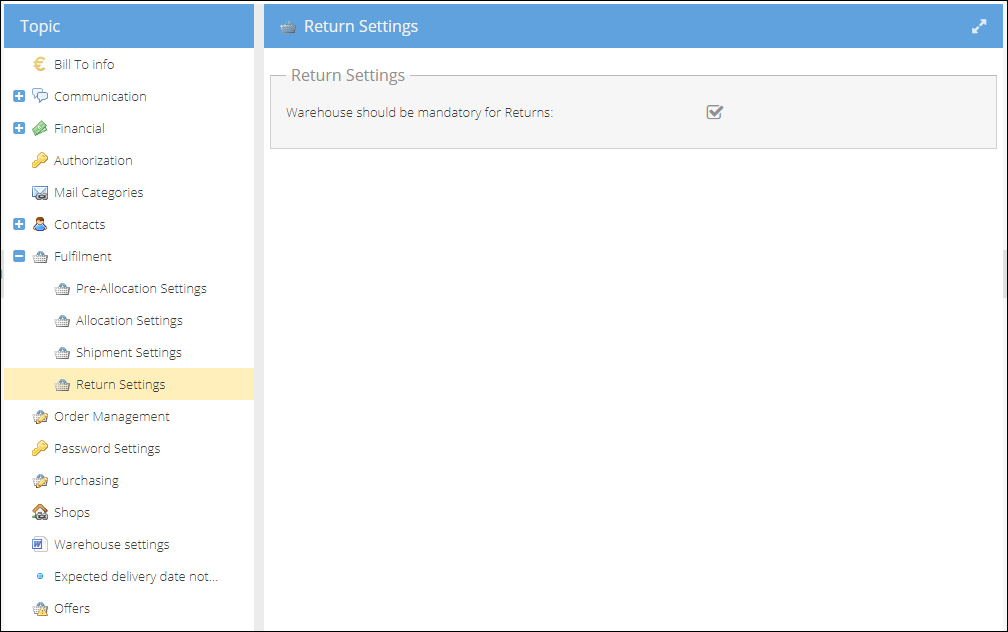
At Shop Owner level Configuration > Shop Owners > Shop owner details page > Fulfillment > Return Settings Warehouse should be mandatory for Returns. Default setting that doesn't allow to create a Return without a Warehouse specified.