Creating Parcel
Default fulfillment flows imply that creating a shipment also creates a Parcel and a Shipping label using a Carrier integration. A warehouse could be configured to automatically generate shipping labels using pre-configured carriers.
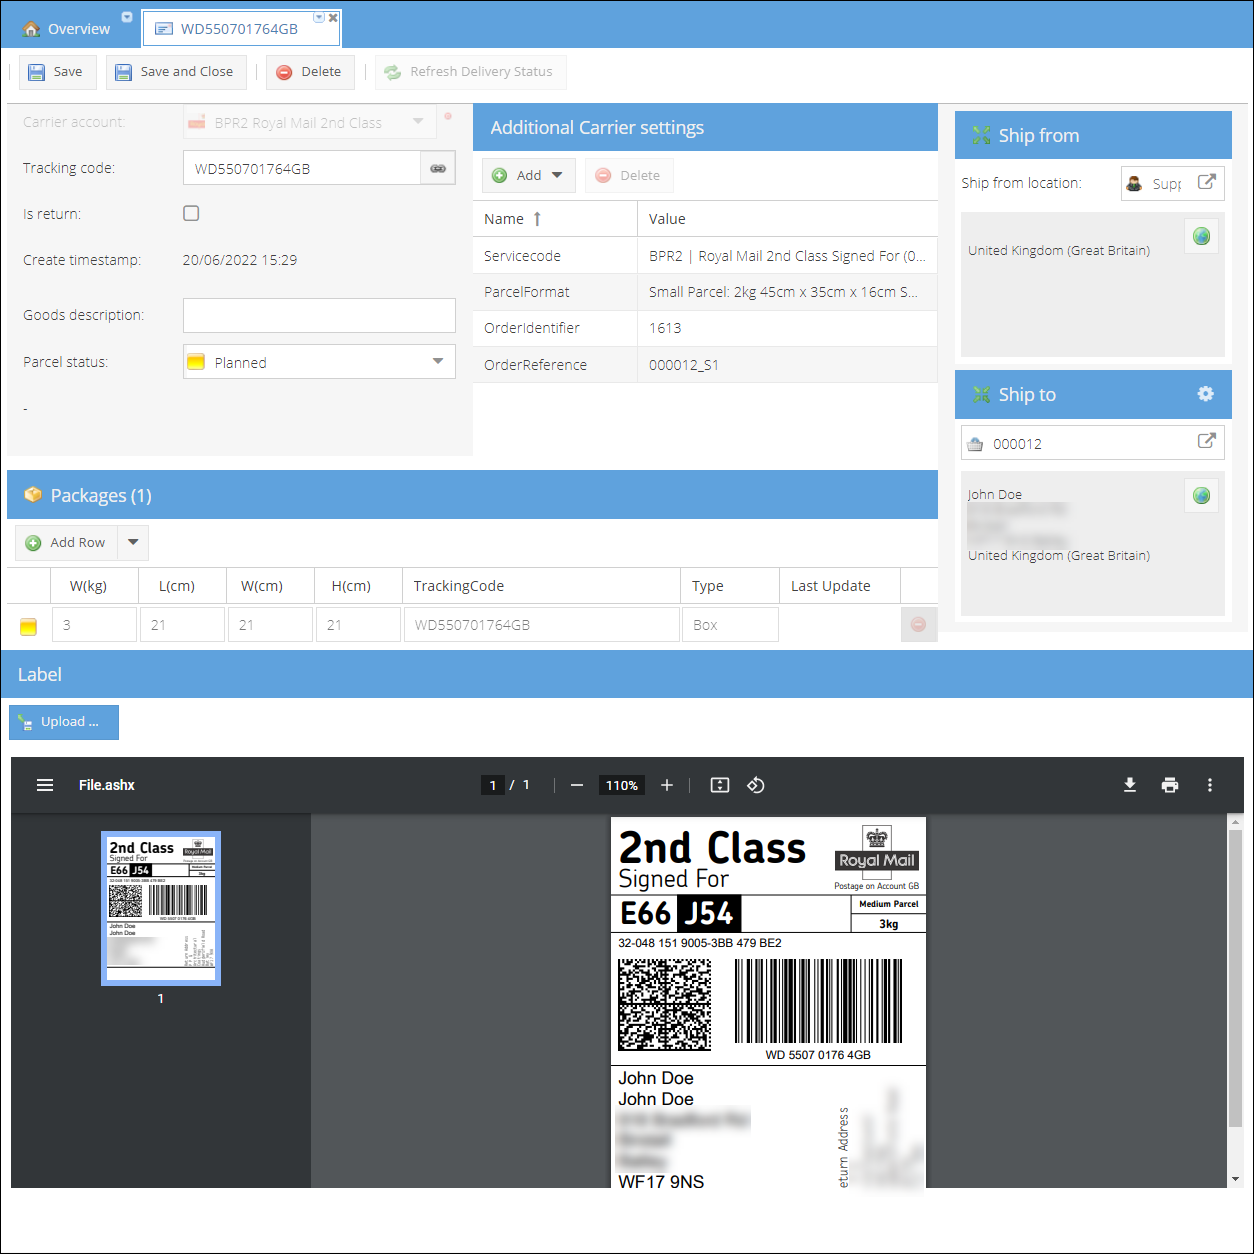
A Parcel keeps a record about a carrier and service used to ship the shipment, tracking code, shipping label, and package dimensions. Using the integrated PIM functionality, ShopCtrl can not only choose the best carrier to ship an order, but also easily determine whether an order will fit in one box, or needs to be divided in a multi packages shipment. When supported by the carrier integration, the parcel tracking status is monitored and parcel status changes accordingly.
When multiple packages are required, ShopCtrl can calculate an estimated parcel weight and/or dimension(s), in order to send the correct information to the carrier. A parcel can have several packages depending on the carrier configuration. When supported, the carrier will create multiple labels and tracking references.
Not all carriers support multiple parcels in combination with third party tools like ShopCtrl.
Printing and forwarding shipping label
After the shipping label is generated and a physical image file is available in ShopCtrl, the following scenarios are possible:
- A warehouse employee prints the label on their own workstation.
- ShopCtrl sends the label to a cloud printer service.
- ShopCtrl uploads the label to an FTP location for further use in external (WMS) application(s).
- ShopCtrl notifies an external application about the generated label (via webhook). The external application requests the label using the API.
- ShopCtrl emails the label to a certain supplier or other third party.
The parcel is also immediately linked to the original sales order and tracking information can be forwarded to the customer.
How to manually assign a parcel to a shipment
It could happen, that a parcel was created manually and needs to be assigned to a shipment.
To assign a parcel to shipment:
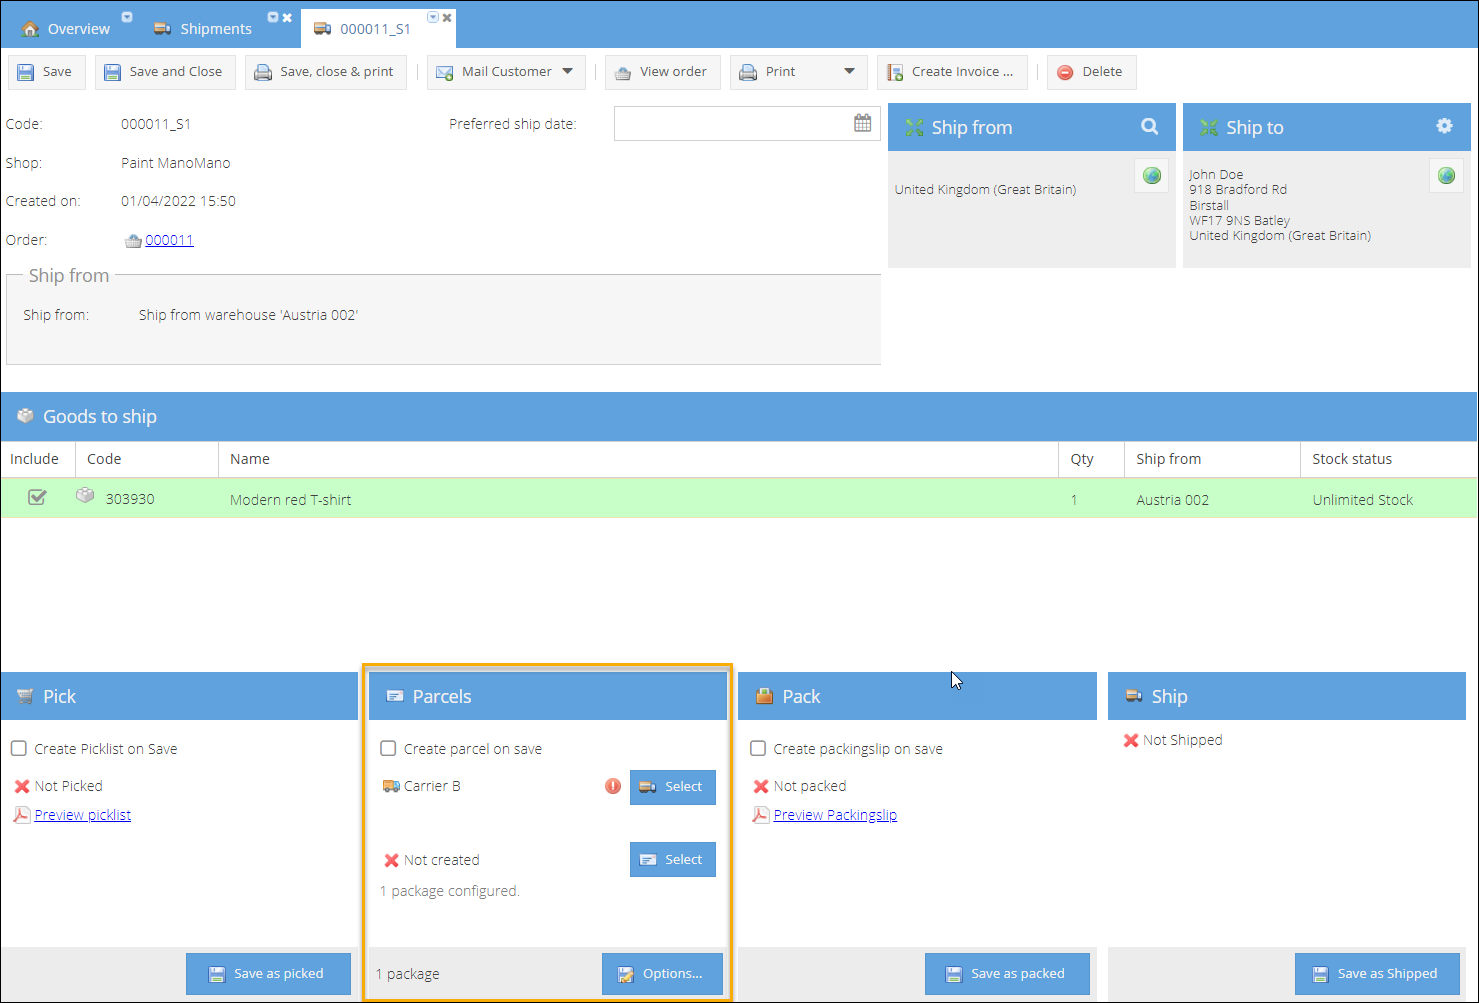
- Go to Fulfillment > Shipments.
- Locate and open a shipment for editing.
- In the Parcels pane click Select. A new pop-up window will open showing all unassigned parcels existing for the shop in the system.
- Type in part of the tracking code to locate the needed parcel.
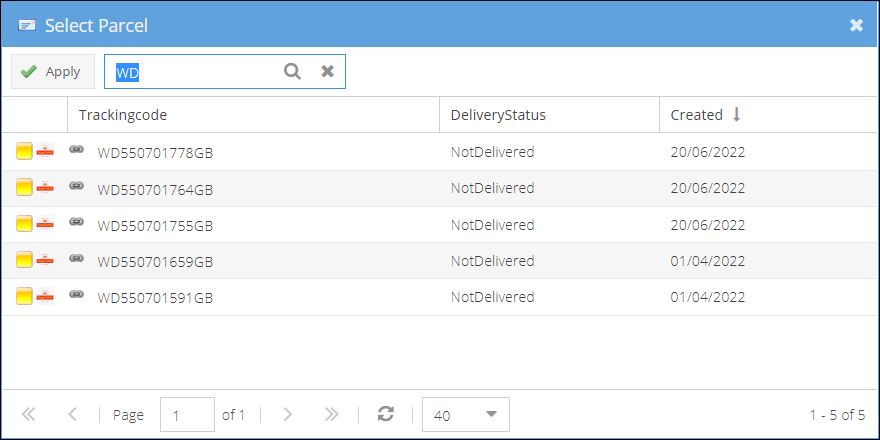
- Double click the parcel row or click Apply.
- Selected parcel and tracking data will be displayed in the parcels pane.
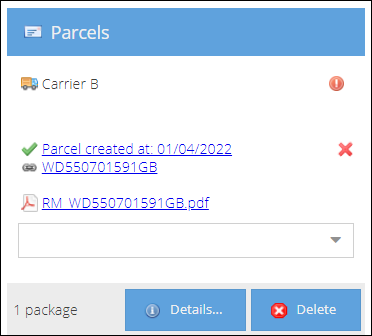
- Click Save or Save and Close to apply changes to the shipment.