Webhooks
- 28 Jan 2025
- 3 Minutes to read
- Print
- DarkLight
- PDF
Webhooks
- Updated on 28 Jan 2025
- 3 Minutes to read
- Print
- DarkLight
- PDF
Article summary
Did you find this summary helpful?
Thank you for your feedback
Required Permissions
An employee must be assigned to the shop with a Shop Owner Admin role to perform actions referred to in this article.
Overview
Webhooks are part of the ShopCtrl Triggers functionality. There is a possibility to send webhooks to your external target applications after a certain event in ShopCtrl.
A trigger could be raised for different events connected with change on:
- orders
- products
- invoices
- shipments
- parcels
- purchase orders
- returns
Webhook main features:
- Support of basic HTTP authentication
- Prioritizing webhooks in the queue
- Customize payload using merge fields
- There is a possibility to add an HMAC signature and /or Client Certificate
- Retry mechanism If a webhook response was unsuccessful, it would retry up to 10 times. If the response still returns an error, an alert will be created.
How to create trigger with call webhook action
To setup automatic webhook call on certain events in ShopCtrl, we need to create trigger and add an action - Call Web hook.

For example, to create a trigger action that will call an external target after an order change:
- Go to Configuration > Triggers.
- Click Add to create a new trigger.
- Select an Event after which you would like to fire a trigger - Order change.
- Select a Shop.
- Click the Add Action button and select a Call Webhook action from the list.
- In the General tab, provide the URL of the endpoint that will receive a webhook.
- (Optional) Mark the Queue items must be unique to prevent the creation of multiple calls for frequently changed entities.
- (Optional) Provide the HMAC secret to sign the request.
- (Optional) Paste in the Client Certificate to be added to each request.
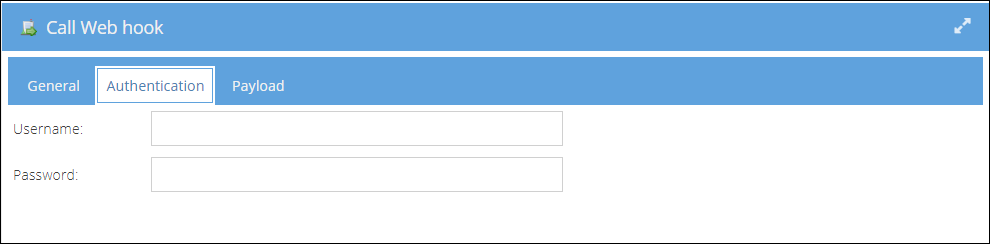
- On the Authentication tab, enter the user name and password used for basic HTTP authentication.
- On the Payload tab, you can specify the Payload Mime type.
- application/JSON
- application/XML
- text/plain
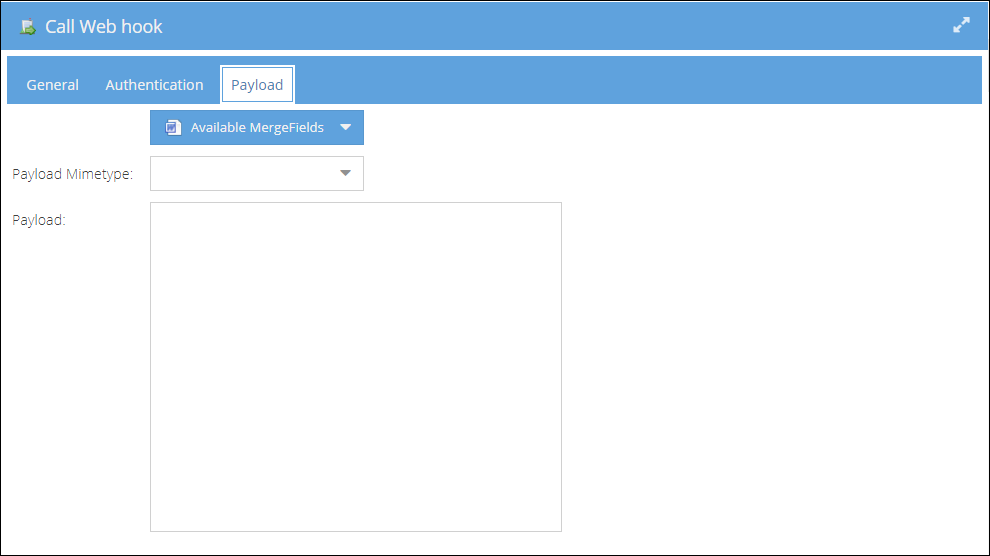


- Enter the Payload body according to the scheme chosen.
- You can add Mergefields to the payload. To check what merge fields you could use for the specific event type:
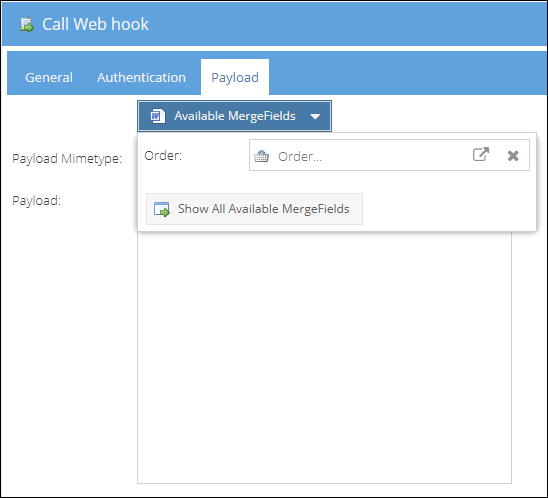
- Click the Available Mergefields button.
- (Optional) Specify the Order id to generate a dynamic list of available merge fields for the specific order.
- Or click Show All Available Mergefields to load the generic order type merge fields list.

- Enable the trigger.
- Click Save or Save and Close.
Default webhook payloads
When webhooks are triggered, the payload sent by our system can vary depending on the type of entity and the event. If the payload configuration is not manually set, the system sends the default JSON payload for the event.
Key Notes:
- Payload fields differ based on the event and entity type.
- Fields are populated only if the relevant data is available at the time of the event. If not, they will appear as null.
Below is a detailed list of the trigger events and their corresponding fields in the entityData object:
| Trigger Event | Fields in entityData |
|---|---|
| Product Created Product Changed Product Deleted Product Available Stock Changed Product Locked Product Unlocked Product Dimensions Changed | ProductId ProductCode ShopGroupId |
| Product Package Created Product Package Changed | ProductPackageId ProductId ShopGroupId |
| Product Package Deleted | ProductPackageId ProductId ShopGroupId |
| Product Selection Product Changed Product Selection Product Deleted | ProductId ProductCode ProductSelectionProductId ShopId |
| Product Group Changed Product Group Deleted | ProductGroupId ProductGroupName |
| Order Customer Rating Changed | OrderId OrderCode CustomerRating |
| Order Comment Changed | OrderCommentId OrderId OrderCode TicketId TicketCode |
| Invoice Payments Done Order Invoices All Paid Invoice Payments Not Done Invoice Payments Partial Done Non Draft Invoice Saved Non Draft Credit Invoice Saved Order Invoices Created | InvoiceId InvoiceCode OrderId OrderCode |
| New Shop Saved Init New Shop | ShopId |
| Purchase Order Created Purchase Order Delivery Provisioned Purchase Order Delivery Received Purchase Order Handed Over Purchase Order Provisioned Purchase Order Received Purchase Order Main Status Changed Purchase Order Submit Status Changed Purchase Order Payment Status Changed Purchase Order Provision Status Changed Purchase Order Custom Status Changed | PurchaseOrderId PurchaseOrderCode SupplierId WarehouseId OrderId OrderCode ShopId |
| Shipment Created Shipment Delivered Parcel Status Change Parcel Pickup Done New Parcel Added Shipment Picked Shipment Packed Shipment Shipped Order Shipment Status hanged Order Fully Shipped Shipment Handover | ParcelId TrackingCode OrderShipmentId OrderShipmentCode OrderId OrderCode |
| Main Order Return Status Changed Order Return Changed Order Return Created | OrderReturnId OrderReturnCode OrderId OrderCode |
| Product Property Def Changed Product Property Def Deleted | Id Code |
| Product Brand Changed Product Brand Deleted | Id Name |
| Voip Call Changed | Id |
| Ticket Main Status Changed Ticket Created | TicketId TicketCode OrderId OrderCode ShopId |
| Ticket Handling Employee Group Changed Ticket Handling Employee Changed | TicketId TicketCode OrderId OrderCode HandlingEmployeeGroupId HandlingEmployeeId OldHandlingEmployeeGroupId OldHandlingEmployeeId |
| Ticket Incoming Message Ticket Outcoming Message | TicketId TicketCode OrderId OrderCode ShopId TicketMessageDirection |
| Default (other events) | OrderId OrderCode |
Webhook Queue
After the trigger fires, the webhook will be added to the webhook queue and performed in the background. You can access the Webhook Queue table from the System > Webhook Queue page.
Here you have an overview of all webhooks sent, dates and response messages.
